
 Last week we spent five days introducing you to the idea of using Photoshop Elements in your homeschool. If you missed any of those topics, here they are:
Quick Pages for Journaling/Notebooking
Multi-Layered Templates for Recordkeeping
The Type Tool for Flashcards and Labels
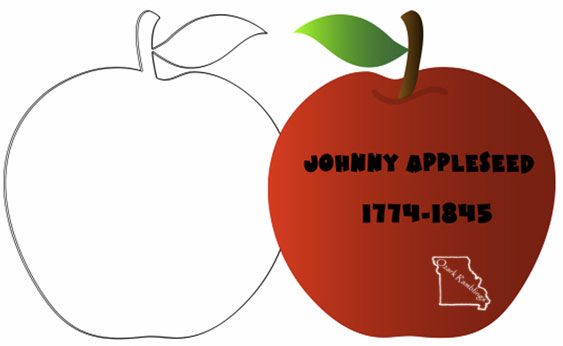
When we last discussed lapbooking, we were relying on someone else to provide us with the shape of the mini-book and just adding our our text and images. What if you want to make your own mini-book and what if you’re bored with simply squares or rectangles. Let’s learn how to make a shape book next. For our example I’m going to make an apple book for Johnny Appleseed. I start by Googling an apple clip art image.
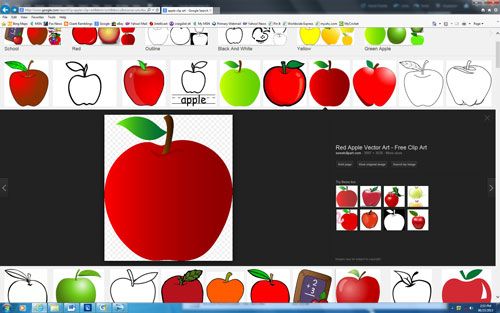
Here’s a good one and I can tell from the checkerboard pattern that the background is already transparent so I won’t have to extract the image.

Wow, look how big the apple was when I dragged it onto my 8.5X11 blank file. I didn’t notice the image size when I was Googling. I’m working with it anyway because it’s easy to make a large image smaller. (If you start with an image that’s too small and try to stretch it out, it can look really pixelated). I resize the apple by dragging on a corner and place it on the right side of my blank background. Now I’m going to use Photoshop Elements Stroke feature to make the back page of my mini book.
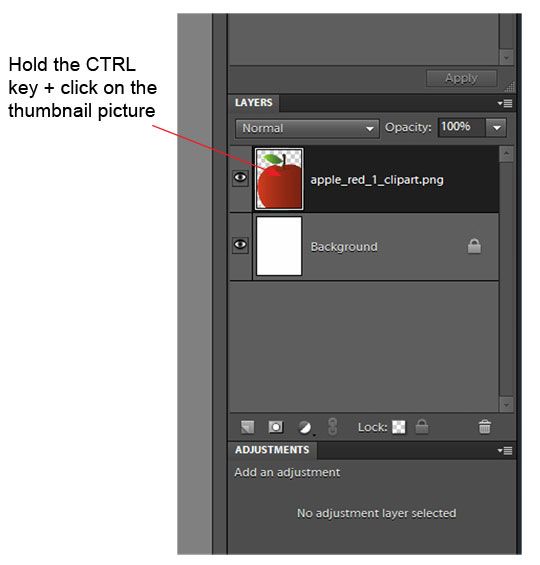
You’ll see “marching ants” around the apple in the work area.
![]()
The new layer will appear above the old one in the layer section and the marching ants will still be around the apple (they’re really around the new copied apple). Now click on Edit>Stroke (Outline) Selection. A new window will pop open.
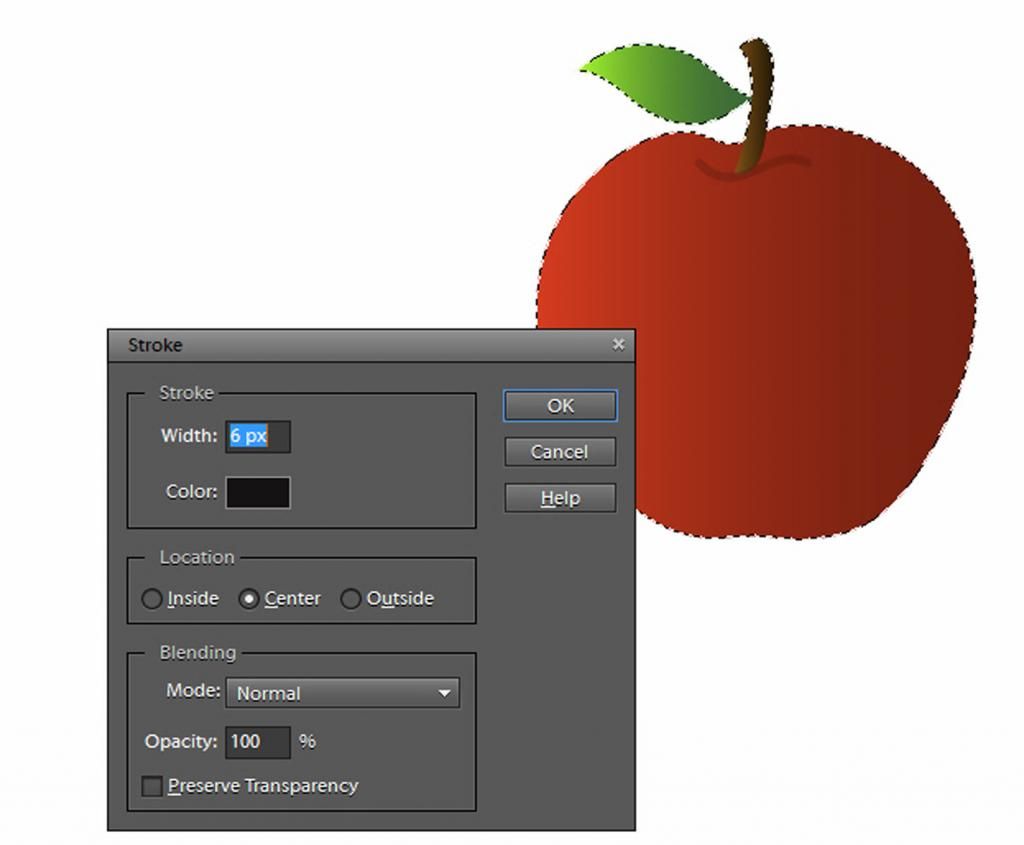
We’re making the cutting line for the back of the mini-book so we want it to be several pixels wide and black in color. I leave it centered so that when I cut down the middle of the line it will match up perfectly with the front side. With your width and color set, go ahead and click OK. There’s now a black outline on top of the apple, but we need to reverse the image. Select Image>Rotate>Flip Layer Horizontal.
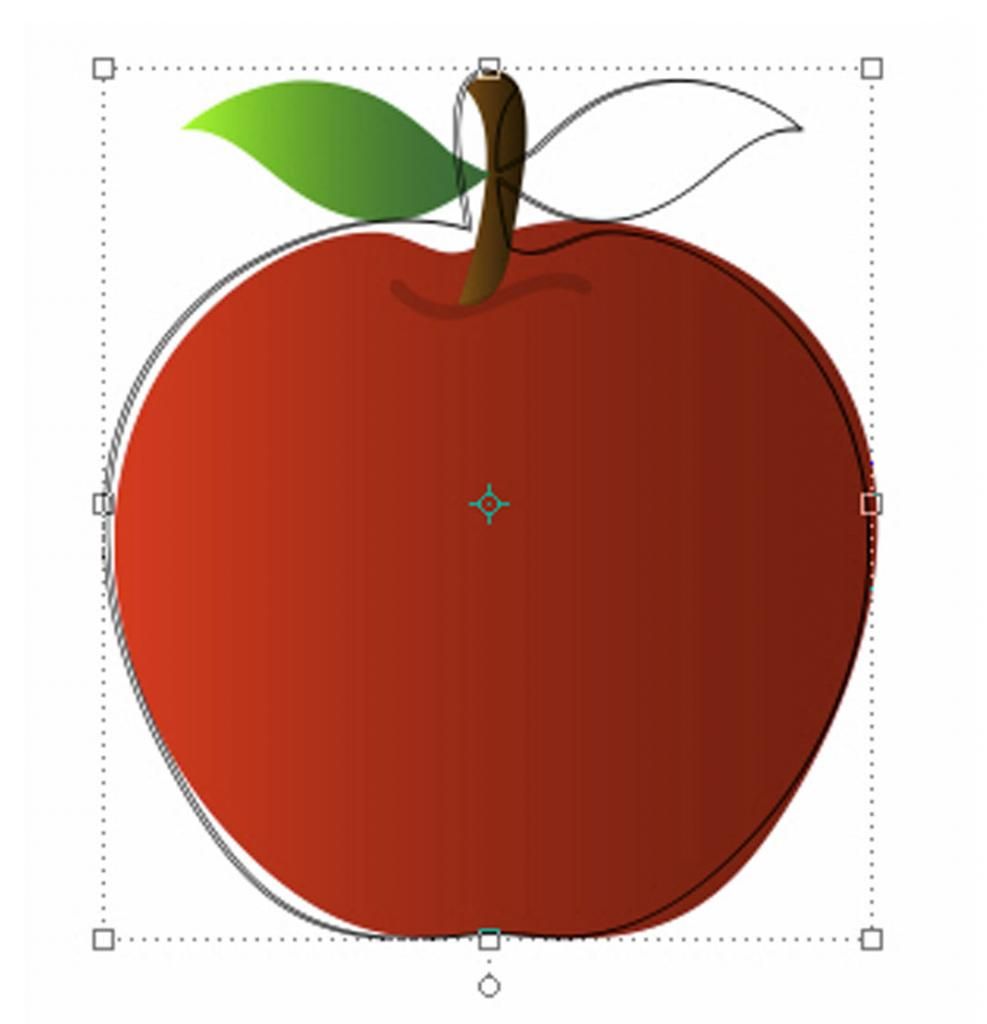
Now the outline of the apple is a mirror image of the original. If you try this and can’t tell the apple image from the outline, you’ve probably selected the plain Flip Horizontal instead of the Flip Layer. Make sure the Move Tool  is highlighted on the left hand side but DON”T use your mouse to move the outline shape. We want to keep it on the same level as our apple so it will match up when we fold the book.. Instead use your left arrow key to nudge the outline over. There should still be some overlap—this will be the fold of the book where the front and back stay connected. Too small an area and the front will likely tear off with use.
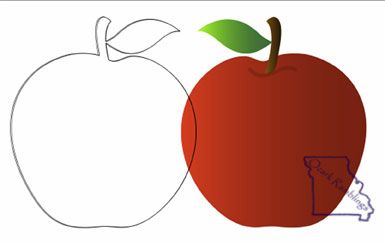
See how the outline is on the face of our mini-book. We don’t want that. It’s easier to deal with than you think. We just need to change the order of our layers.

Now there’s a portion of the red apple will appear on the back page of our book, but I don’t care since that side will be glued down anyway. Here’s the image of the finished shape book after I’ve added my text.
Next week I plan to go into more detail about the Magic Extractor feature—using the zoom and changing brush size to get those tiny details. If there are any projects you’d like to learn to tackle with Photoshop Elements, please leave me a comment.
No comments:
Post a Comment