
This is not about a hands-on experiment to show kids how butter is formed. For that I'd just shake the cream in a jar (good energy dissipation exercise for the kids if you know what I mean). We get three gallons of raw milk fresh from a nearby dairy once a week--that means a lot of cream. By putting our milk in wide-mouth gallon jars, we're able to see and skim off the cream as it rises to the top. We happened to have a friend give us these 1-gallon jars but we've also found gallon jars by buying pickles at Sam's Club--you'll just need to clean them thoroughly. I just use a soup ladle to scoop off the cream and pour it in a quart sized mason jar. You'll know when you've hit the milk layer because it appears darker than the cream. I collect the cream from each gallon as we need to drink the milk, each time adding to the quart jar I keep in the fridge. If you've got plenty of butter on hand, it's also possible to freeze the cream. I've had no problem using it for butter or ice cream later.
I used to try using my Bosch mixer with the whipping blades to make butter (someone else online has the instructions) but I only had one success and many failures. Since I've switched to making butter in the food processor I've had a 100 percent success rate. The day I'm going to make butter I set the quart jars on the counter to bring them to room temperature. This step isn't absolutely necessary, I've actually made butter while there were still ice crystals in the cream. It does speed up the process if the cream is not so cold. I made butter in 2 min. 26 sec. with room temp cream. Cream out of the fridge can take 5+ minutes.
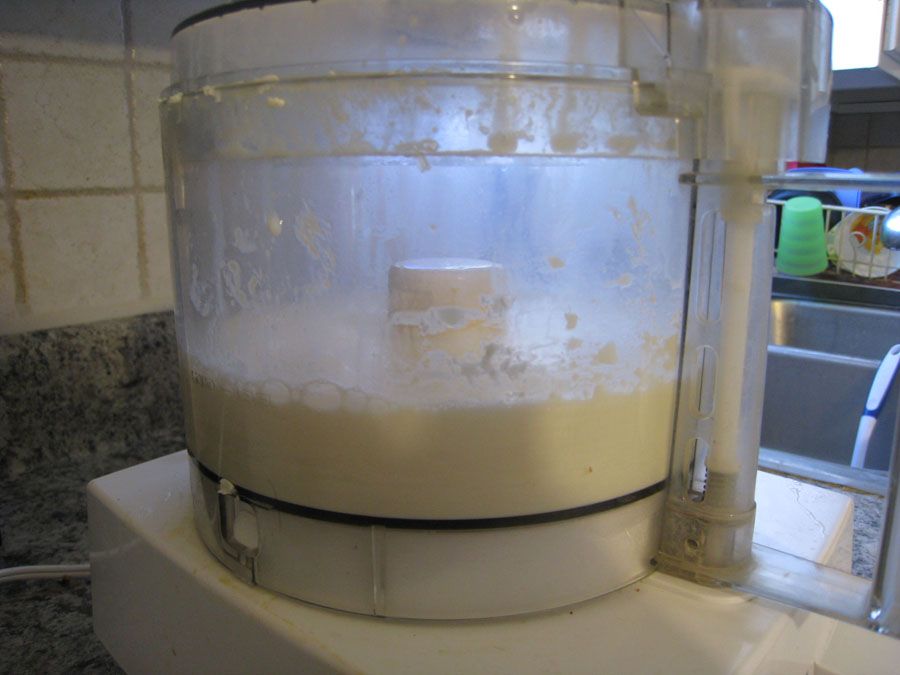
Here's the start of our process--a mere two cups of cream in the Cuisinart. Why so little? Well look at the next picture.....
I've actually made whipped cream at this point and its more than doubled the volume I'd say. We've got to keep going.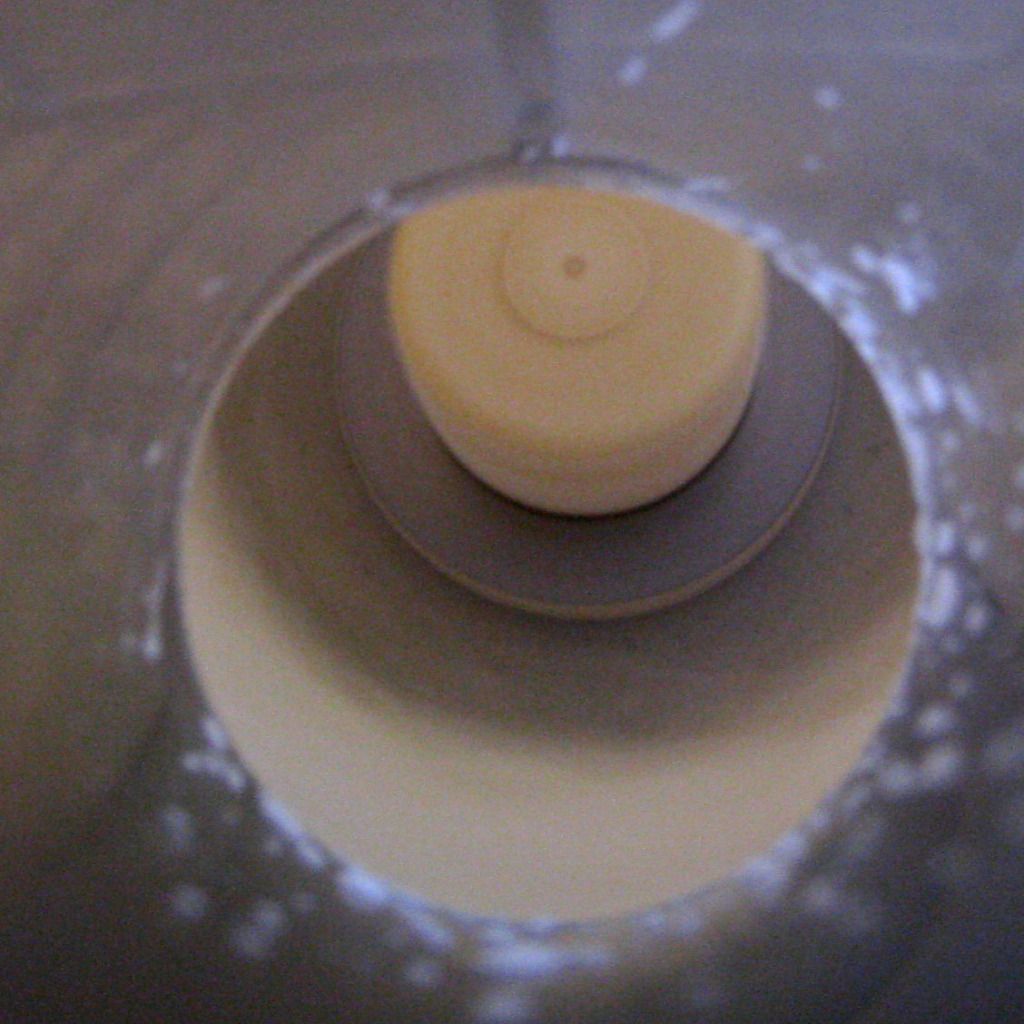 |
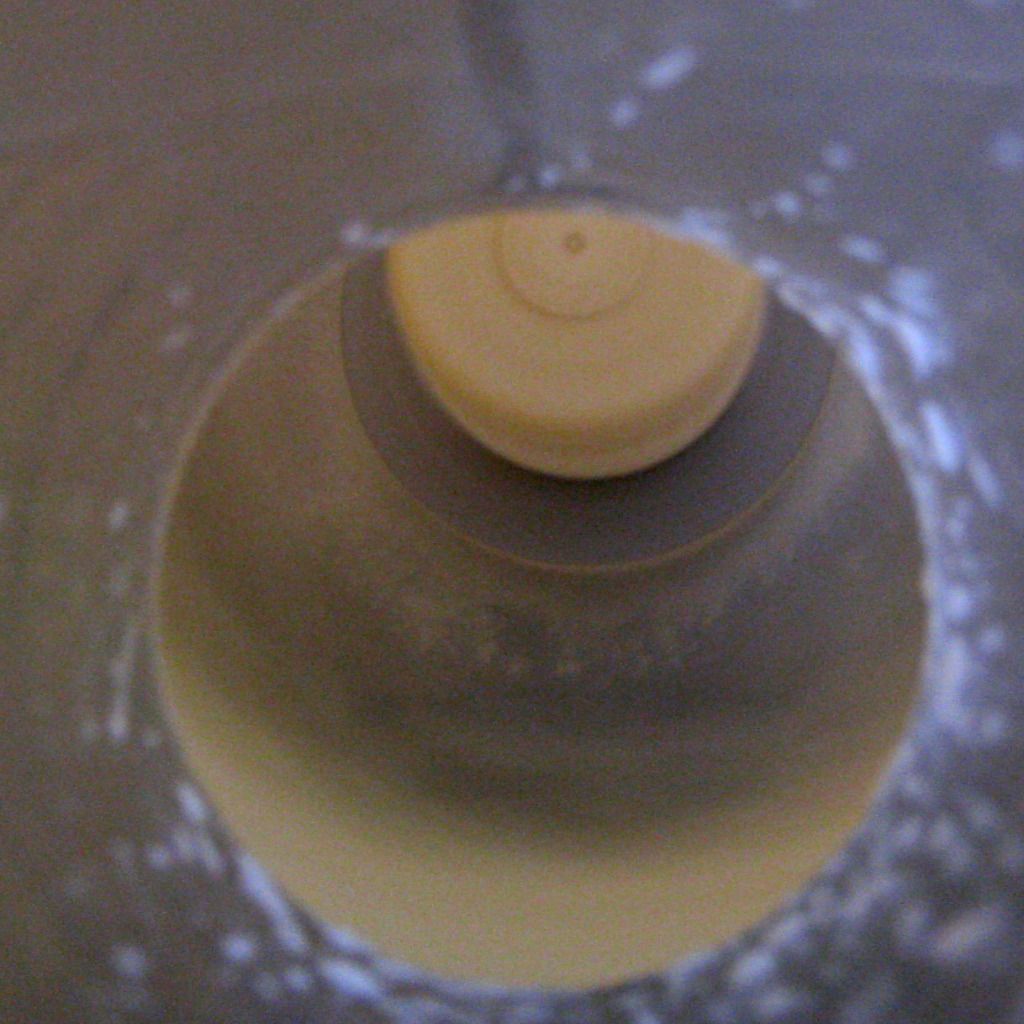
| Near the beginning of the process. |
 |
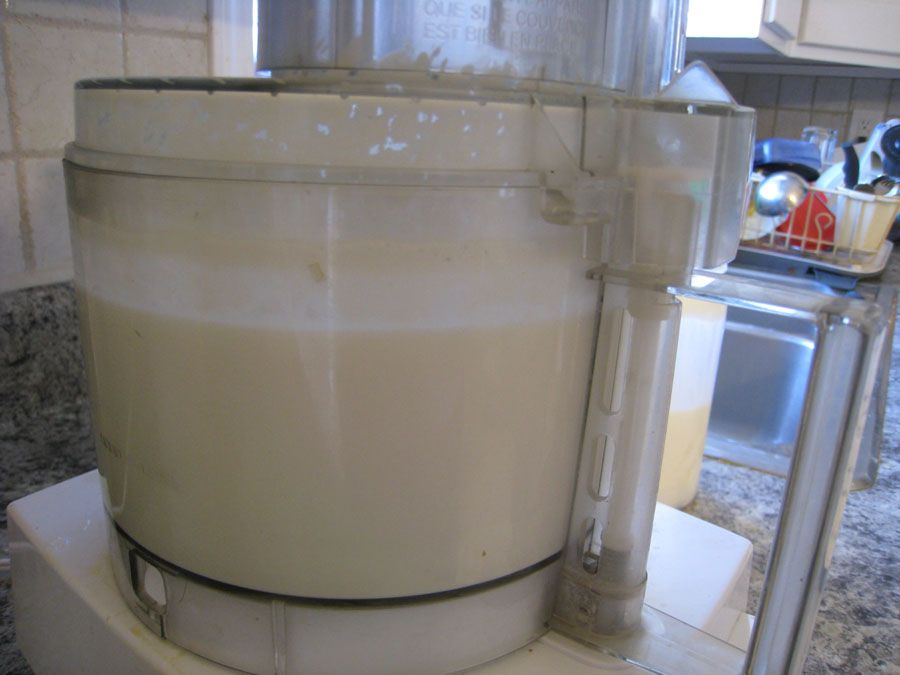
| The cream edges away from the center |
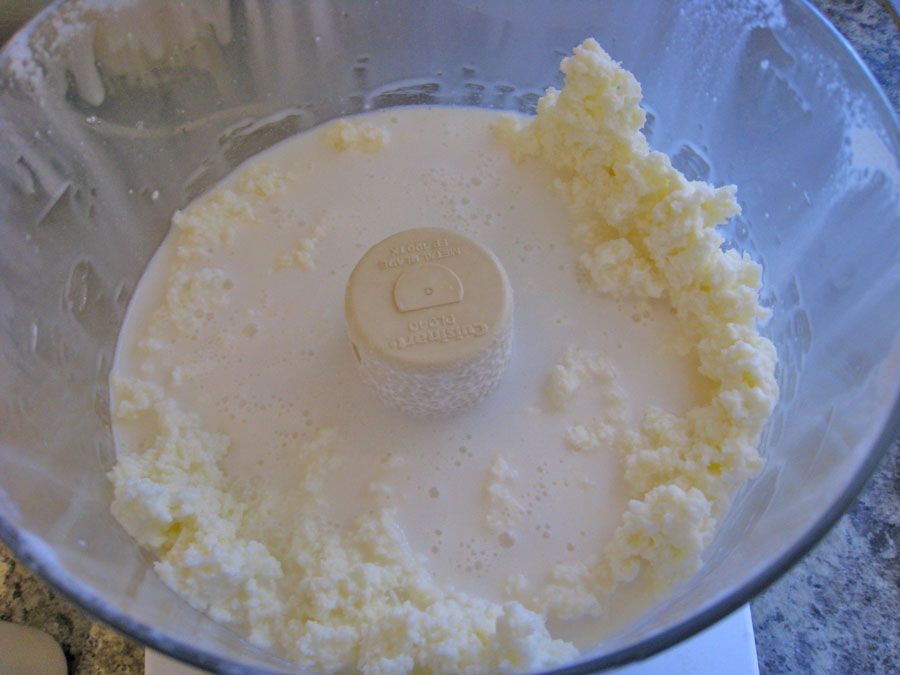
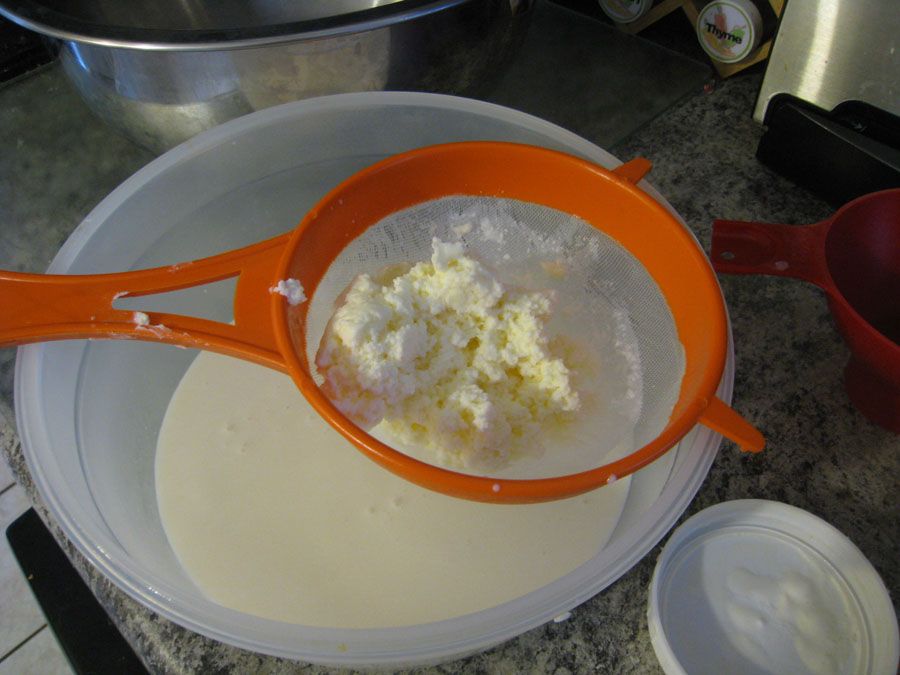
Now comes the one part I dislike about making butter, and frankly it takes the longest. You have to wash the butter to remove all the excess liquid. Don't be tempted to skip this step. Leaving the buttermilk in the butter may cause it to go rancid quickly. I dump my butter in a large bowl and begin pressing it against the sides. You'll see droplet of liquid escaping from the butter solids. I spray the whole batch with COLD water from the sinks sprayer (can you guess why you don't want to use hot water?) Then it's rinse and repeat, rinse and repeat.
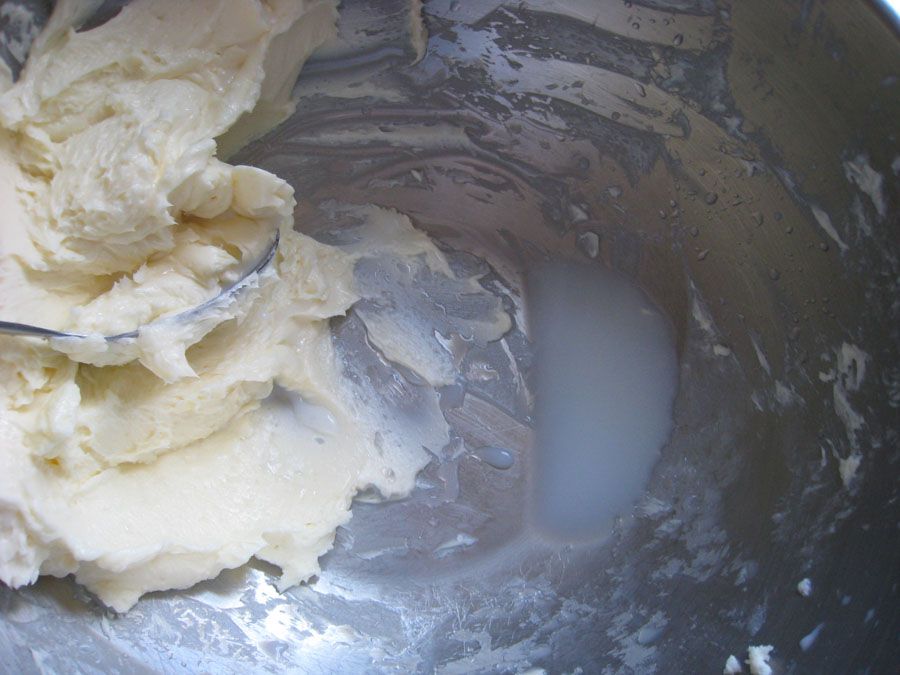
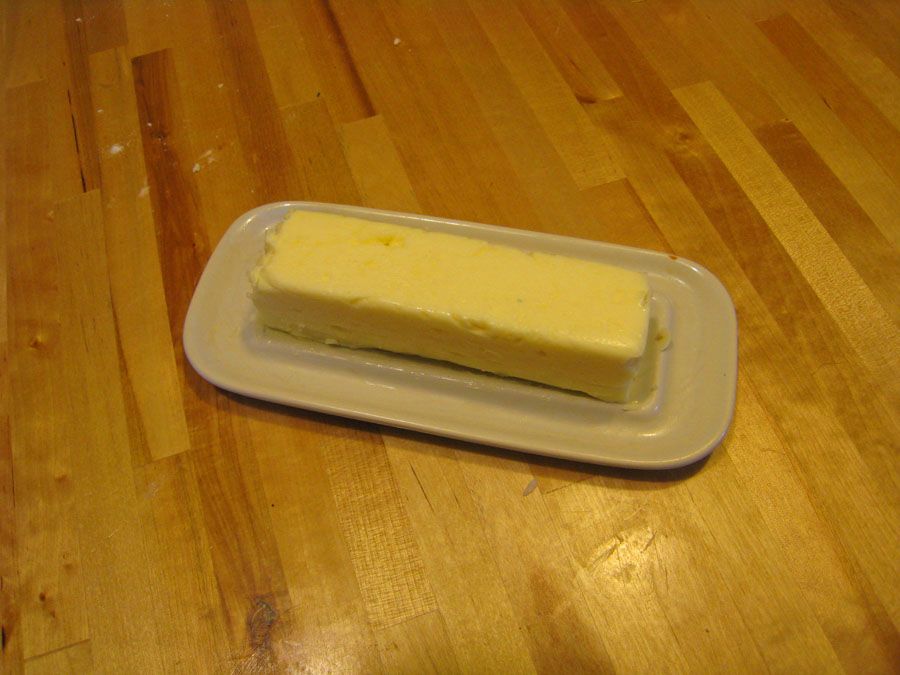
Here I'm almost done. This liquid is actually rinse water more than squeezed out buttermilk. See how much clearer it becomes? Now you have unsalted butter. While it's still so soft and creamy you can add flavorings--salt, cinnamon and honey, chives, etc. For this batch I used about 1/2 t. of salt. I started the day with just shy of three quarts of cream. Now I have about 6-7 cups of buttermilk and 3 cups of butter.
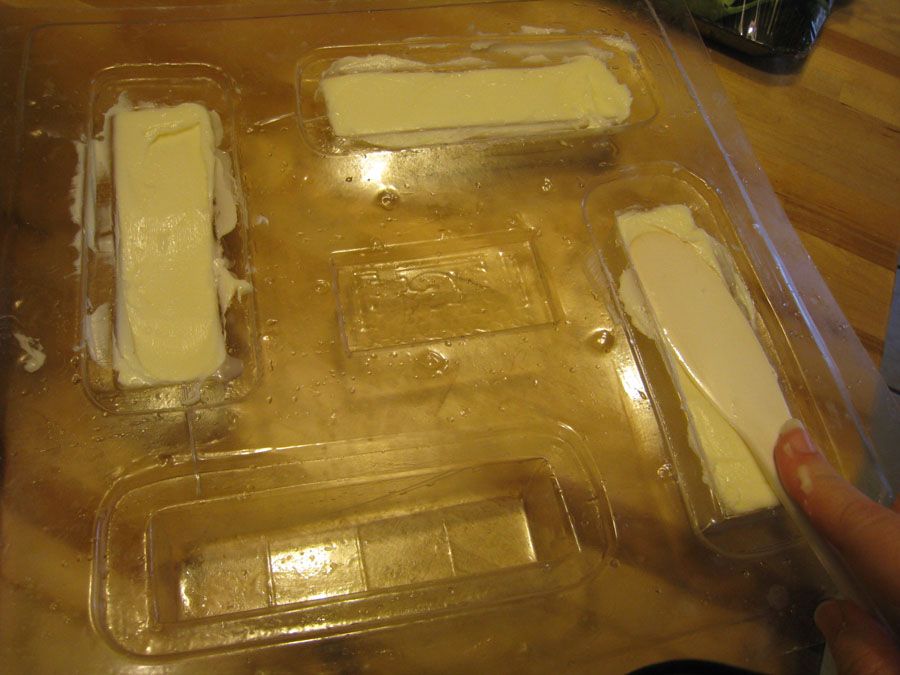
Check out my latest find on eBay. This mold makes four standard-sized sticks of butter and even has ridges to imprint lines for 2 tablespoon portions. The jury is still out on this gadget though--I'm having to learn how to remove air pockets in the butter so the measurements are accurate. I'm also having a dickens of a time removing the butter after it solidifies.
Now don't forget to check out what the other bloggers have chosen for their "B" week at the Ben & Me blog. I'll be busy trying to choose my "C" for next week. Hmmmm, chess, chemistry, coin collecting....
10 comments:
This is wonderful!!! I need to figure out how to do/get the milk...my mpost expensive purchase since going organic is buying organic butter--it is horribly expensive. I honetly never thought to make my own! Thank you for the tutorial!
I heart butter.
I wish I had access to raw milk!
The Real Milk website has listings by state where it is possible to buy raw milk. http://www.realmilk.com/where.html
In some states where the direct sale of milk prohibited you may need to look for a "cow share" program.
I've been debating making butter with the cream from our raw milk. But I usually end up drinking the cream in my coffee. If I can wean myself off of the cream onto just milk, then I can start making butter! Yum!
Out of curiosity, how much butter do you get with 2 cups of cream?
Diana, I usually wait till I have a quart on hand and then I get about 1 cup or 2 sticks of butter so I'd think you'd get about 1 stick.
How very cool!!!
One of the downsides to the state I live in is that we are not allowed to buy raw milk.
seriously!!! that is awesome! I'm working on doing more things by hand and this is just awesome!
We have been making butter into balls, I've never seen a cool mold like that. I am very thankful that my daughter washes it. :)
I love to make my own butter. I use my kitchenaid mixer instead, but same thing :) I like the steel bowl because it keeps the cream nice and cold especially if you chill the bowl first.
Try putting plastic wrap in the molds before you fill them, might help with the release. Might not be as pretty (wrinkles in the plastic) but the measurements come out fairly uniform.
Another suggestion is weighing a tablespoon of butter. Then after making a fresh batch, use a pastry bag, some wax paper and a frozen/cold cookie sheet. And if you have a digital scale, lay out the wax paper and zero out the scale after each tablespoon is squeezed. Then put the finished sheet on the cookie sheet and pop it in the freezer to harden. After a few mins, take them out and either bag them up for fancy pats of butter or easy tablespoons to toss in recipes.
Hi Try this butter stick mold. Easier to remove. www.cannawareproducts.com
Post a Comment